Pages

Sunday, July 29, 2012

"You can make ravioli's at home??

This is what Peter said, when I impressed him with making ravioli's from scratch. This was all thanks to what I learned at the Brooklyn Kitchen class I took and the fact that my roommate, Jenna has a pasta machine!
 
I used the pasta dough recipe from my class and then mimicked a cheese filling and brown butter sage sauce that we made. The recipe packet we took away from the class didn't have these scrumptious tidbits inside, but I found some stand-in recipes that were just as tasty!

Pasta dough recipe:

Ingredients:
- 1 1/4 cups unbleached all purpose flour
- 1 large egg
- 1/8 cup water
- 1/2 teaspoon EVOO
- a pinch of salt

Directions:
1. On a flat surface, make a mound of flour and create a hole in the center.
2. Crack the egg in the center and start slowly mixing with a fork. Slowly incorporate the flour in, a little at a time.
3. When it starts looking like a pancake batter, add in the water, oil, and salt and continue mixing in my floor from the walls.
4. When the walls are almost gone, I used my handy dandy plastic cutter to chop in the rest of the flour, folding over from each side.
5. Once the flour is almost all combined in, drop the fork and start using your hands to knead the dough.
6. Work it gently by folding the dough in half and pressing down on it away fro you, turn it 90 degrees and repeat; Do this until you have a smooth ball.
7. Cover in plastic wrap and let sit for 15 minutes at room temperature.

Here's the recipe for the Spinach Three-Cheese filling:
(This recipe is cut in half of the original from Tyler Florence. I made a full recipe and had way too much filling to put in my ravs!)
Ingredients:
- 7.5 oz. ricotta cheese (1/2 15 oz container)
- 1 8 oz. ball of fresh mozzarella shredded
- 1/4 cup grated parmesan cheese
- 1 cup fresh baby spinach, finely chopped
- 1/2 an egg
- salt and pepper to taste

Directions:
1. Mix everything together. (I know really hard!)
I don't have the greatest knife skills. My spinach could have been a little more finely chopped, but this didn't effect the taste!
Here are the directions for assembling the Raviolis:
1. Fold your flat dough over and perforate a crease at the center.
2. Place spoonfuls of filling roughly an inch apart
3. With your finger, paint water around each filling pile to act as the glue.
4. Carefully fold over dough covering each ball making sure to push out all air from each pocket.
5. Cut to the desired size.
6. Depending on the thickness these will take 2-3 minutes to cook and should start floating when ready!
And now to top everything off!

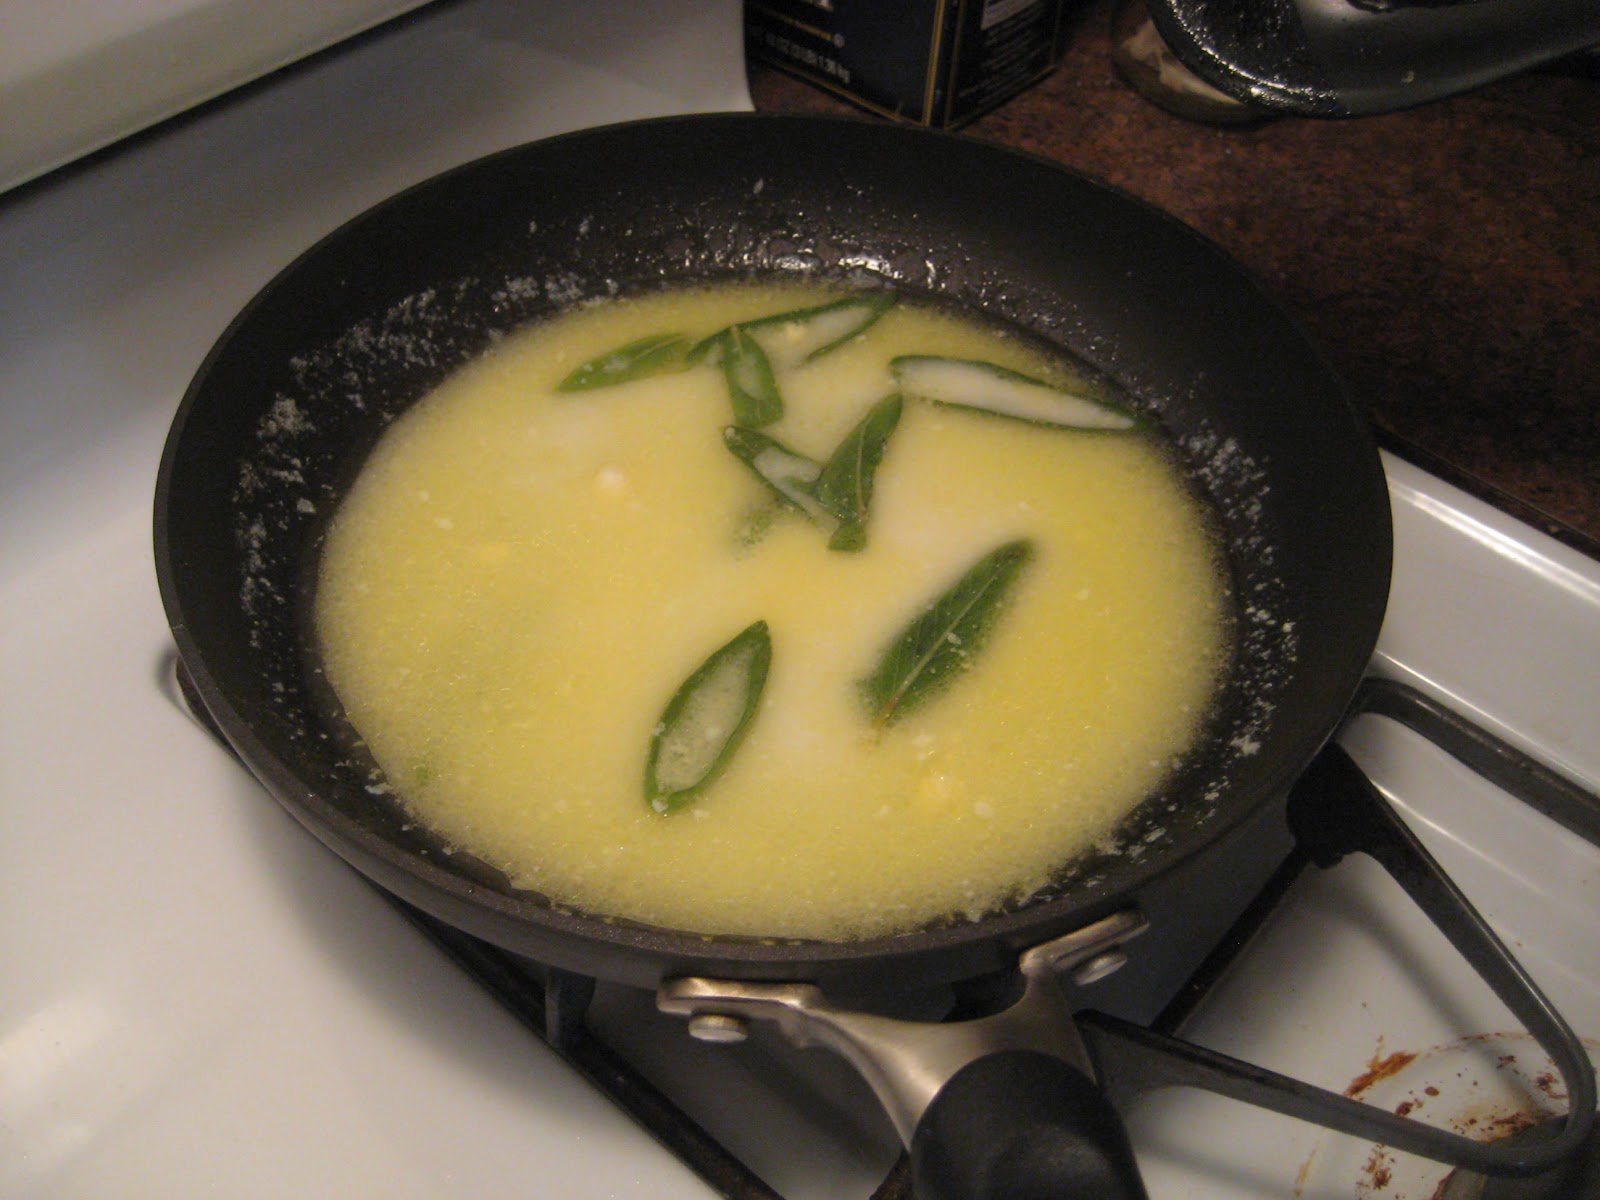
Here is the recipe for the awesome Brown Butter Sage sauce:
 

Ingredients:
- 4 tablespoons butter
- 8 sage leaves
- 1/2 lemon, juiced
- 1/4 cup grated Parmesan

Directions:
1. Melt butter in a sauté pan and continue cooking until golden brown appears in the thinnest liquid of the butter.
2. Add sage leaves and remove from heat.
3. Add lemon juice and set aside.
4. While draining pasta, reserve a little pasta water to add to the sauce.
5. Combine pasta and sauce and return to heat.
6. Add cheese, toss to coat, and serve immediately.

This one is thanks to Mario Batali.


Sunday, July 22, 2012

Teach me how to cook!

In my 27th year, one of my bucket list items was taking a cooking class. I really enjoy cooking and baking and felt like this would be something I’d really enjoy. My lovely sister wanted to help me achieve this and got me a gift certificate to the Brooklyn Kitchen for my birthday. This weekend I finally got to use it!
I took their fresh homemade pasta class with Brendan McDermott. Alice tagged along as well. It was such a blast…and scrumptious too! Brooklyn Kitchen is the bomb and has so many awesome classes to offer. I am sad I don’t live there anymore. Otherwise, I would be there on a monthly basis taking classes like: DIY Taqueria Class, Homemade Ice Cream Class, Homemade Empanada Class, Hearty Vegetarian Entrees Class just to name a few! After cooking, we got to feast on all the lovely things we made amazing bread and red wine. One thing though: cooking classes = date activity. Aside from one other solo girl, it was just a slew of couples.

We got to make fettuccine, cheese ravioli, and gnocchi. The ravioli was definitely the best part. The filling was prepared before hand, but I got to learn all the ins and out of making them and can now go home and fill pasta with anything my heart desires!

Growing up we had a pasta machine, but I’m excited to now know how to do it all by hand. We used an old fashion hand cranking pasta machine, which my new apt. just happens to have! Can’t wait to use that!!
Here is the pasta dough recipe we used:

Ingredients:
- 1 1/4 cups unbleached all purpose flour
- 1 large egg
- 1/8 cup water
- 1/2 teaspoon EVOO
- a pinch of salt
 
Directions:
1.     On a flat surface, make a mound of flour and create a hole in the center.
2.     Crack the egg in the center and start slowly mixing with a fork. Slowly incorporate the flour in, a little at a time.
3.     When it starts looking like a pancake batter, add in the water, oil, and salt and continue mixing in my floor from the walls.
4.     When the walls are almost gone, I used my handy dandy plastic cutter to chop in the rest of the flour, folding over from each side.
5.     Once the flour is almost all combined in, drop the fork and start using your hands to knead the dough.
6.     Work it gently by folding the dough in half and pressing down on it away fro you, turn it 90 degrees and repeat; Do this until you have a smooth ball.
7.     Cover in plastic wrap and let sit for 15 minutes at room temperature.

If you’ve never had fresh pasta, you haven’t lived.  It is so much better then store bought stuff. Though I wouldn’t vow to never buy pre-made pasta again, I definitely want to make homemade more often. The teacher prepared a red sauce before the class and unfortunately poured it all over the linguini we made, so I didn’t get to appreciate the pasta in its pure form.

Here are the directions for making the pasta:
1.     Flatten ball with hand.
2.     Set pasta machine on largest setting.
3.     Feed dough in and crank away.
4.     Flour both sides and set the machine one setting down.
5.     Repeat this process to the desired thickness of your liking. I did 4 times.
6.     Feed your flatten dough then through the cutting setting and voila pasta.
7.     Since it is fresh it takes less than a minute to cook. You will know it is done when the pasta starts floating!

For the ravioli, here is the steps to makes these perfect little pillows:
1.     Follow #1-5 above.
2.     Fold your flat dough over and perforate a crease at the center.
3.     Place spoonfuls of filling roughly an inch apart
4.     With your finger, paint water around each filling pile to act as the glue.
5.     Carefully fold over dough covering each ball making sure to push out all air from each pocket.
6.     Cut to the desired size.
7.     Depending on the thickness these will take 2-3 minutes to cook and should start floating when ready!

Bon Appétit!


Our teacher was awesome. To save time he had prepared some things beforehand, so I don't have the recipe to share for the awesome brown butter sage sauce we had on the ravioli's nor the gnocchi. But here's a look at these cute little dumplings.


Saturday, July 14, 2012

Tropical Granola

 I make granola a lot. This is my 3rd batch since I moved into my new place June 8th. Excessive? I don't always post about it because a lot of times it is just a repeat performance. I do mix up the ingredients from time to time.

Today I was feeling pretty tropical. My mom has helped me discover used coconut in things. I used to not be a fan, but it is growing on me. This recipe also has dried pineapple and mango in it. YUM! Here's the recipe:

Tropical Granola

Ingredients:

- 2 cups rolled oats
- 1 cup chopped almonds
- 1 cup sunflower seeds
- 3/4 cup shredded coconut
- 2 tablespoons wheat germ
- 1/4 cup brown sugar
- 1/4 cup honey
- 1 tablespoon vegetable oil
- 1 tablespoon water
- 3/4 teaspoon salt
- 1/2 cup dried mango
- 1/2 cup dried pineapple


Directions:

1. Preheat the oven to 250 degrees.
2. In a large bowl, combine first 5 ingredients.
3. In a pyrex measuring cup, mix together the sugar, honey, oil, water and salt.
4. Heat up goop for 1 minute in the microwave to liquify the siguar.
5. Stir well and then pour over dry ingredients.
6. Mix to coat all oats thoroughly and then transfer mixture to a sheet pan.
7. Cook for an hour and 15 minutes, stirring every 15 minutes.
8. After you remove it from the oven let granola cool before adding dried fruit.

Monday, July 9, 2012

Cookie Day

Happy National Sugar Cookie Day! Good thing I made Funfetti Cookies yesterday. I brought them into work and they were devoured!

Hope you all got your cookie fix!

Sunday, July 8, 2012

Funfetti Cookies


I LOVE sprinkles. I bought some only a few weeks ago and now they are all gone! A good chunk went it making these cookies though! The rest….let’s not talk about it.

Funfetti brings you back to childhood. The fun colorful sprinkle just bring smiles to people. More sprinkles please! Here’s a delicious recipe for Funfetti Cookies I am bringing to work tomorrow to wecome everyone back from the holiday!

Funfetti Cookies

Ingredients:
- 1 cup Butter, Room Temperature
- 1-¼ cup Sugar
- 1 teaspoons Vanilla Extract
- 1  Egg
- 2-½ cups Flour
- ¼ cups Cornstarch
- ¾ teaspoons Baking Soda
- ½ teaspoons Salt
- ½ cups Rainbow Jimmie Sprinkles

Directions:
1. Preheat the oven to 375ºF.
 
2. Cream the butter and sugar with a mixer for about 2 minutes or until fluffy.
3. Add the vanilla and egg. Beat until well combined.
4. In a separate bowl, combine the flour, cornstarch, baking soda, and salt. 
5. Slowly add the flour mixture to the sugar butter, and until it is all combined.
6. Put the mixer aside and fold in the sprinkles 
7. Scoop out dough and roll to form balls
8. Bake for 12 minutes.
9. Witness the smiles.
These cookies taste absolutely amazing. The only thing I will change for next time is rolling them in extra sprinkles to make them even more pretty and colorful.

I adapted this recipe from Tasty Kitchen’s. The main thing I changed was nixing the Nonpareil Sprinkles. I like regular Jimmies WAY better.

Tuesday, July 3, 2012

I like Slaw!


Summer time = Cook out time!

And that just one of the reason I love summer. I went to a friend’s place and they had Broccoli Slaw and one of the side dishes. It was THE BOMB!

I was scared at first. The word slaw just makes me want to cringe because I picture things covered with mayo. Not all slaws are gross, I have now learned!

It is a very simple and easy recipe, but really a crowd pleaser, or a Brenda pleaser at least. I couldn’t stop thinking about it. I had to friend the maker of this dish in order to get the exact recipe. Got it and made myself a batch!

Also, I was quite amused buying Ramen noodles. Have not eaten them since high school. I was ahead of the game and eating this college staple in high school, so much so that I kind of ODed on them and even before getting to college.

Here’s the recipe:

Broccoli Slaw

Ingredients:
- 1 package of broccoli slaw
- 1 package of Chicken Ramen noodles
- 1 onion
Dressing:
- ¼ cup oil
- 2 tbsp red wine vinegar
- 2 Tbsp sugar
- ½ tsp oregano
- ½ tsp pepper
- 1 tsp
- ½ the packet of ramen seasoning


Directions:
1.     Chop up and cook the onion.
2.     Mix together slaw mix and onion.
3.     Break up noodles and combine into slaw mix
4.     In a separate bowl combine all the dressing ingredients.
5.     Pour on and enjoy!

You can eat it right away, but I prefer it even more the day after when the noodles have softened.